The craziness engulfing the world continues and I have been passing the time tuning into my hobbies and interests. One of these new interests is building dioramas. I already build my 1st diorama from a kit, acquired a model train, built a Leo gunpla, and bought a 7-ELEVEN convenience store. Like an evil villain, my plan is coming together nicely and the next phase was to experiment with building my own custom diorama base using all the things I have been learning.
Loading ...
Building a diorama is not easy so kudos to those who enjoy this hobby because you have to enjoy it to do it! All the painting, sculpting, gluing, taping, brushing, folding, fixing, and adjusting needed will either make an acceptable piece or a work of art. So this is how my building my first gunpla diorama went and all the things I learned.
Thank you for reading and ask me any questions in a comment below or on Twitter @Jamaipanese.
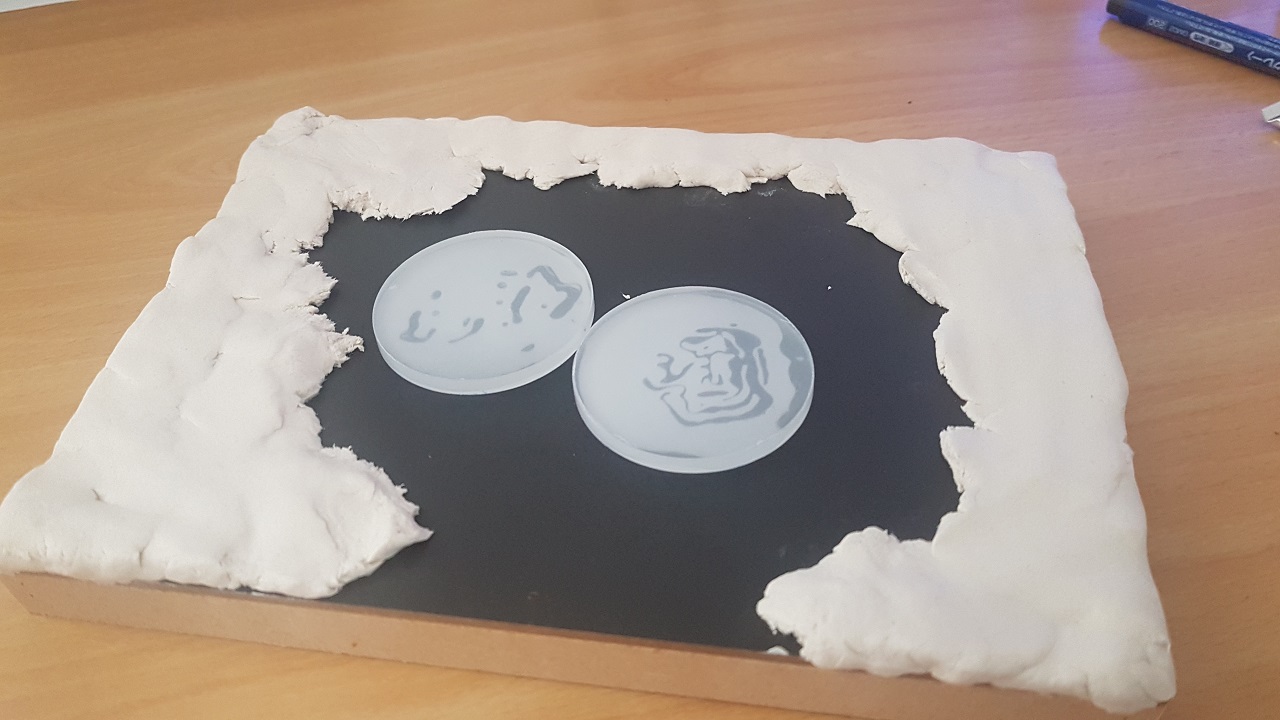
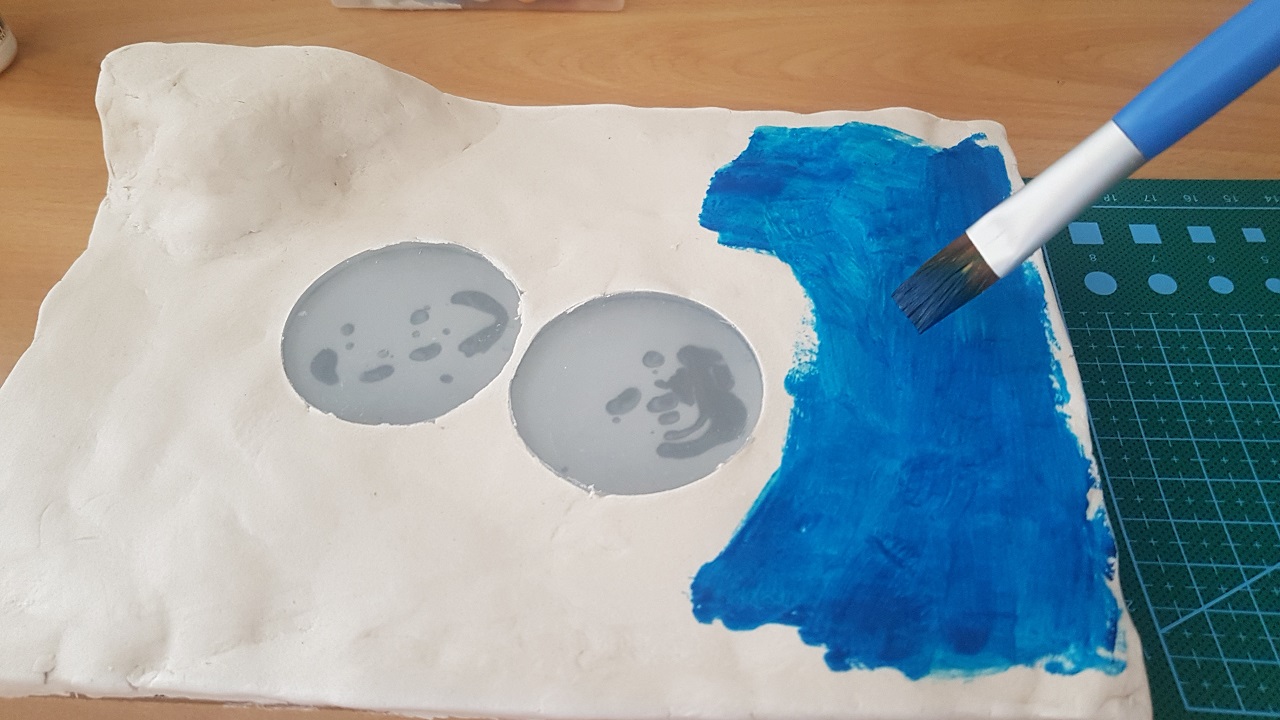
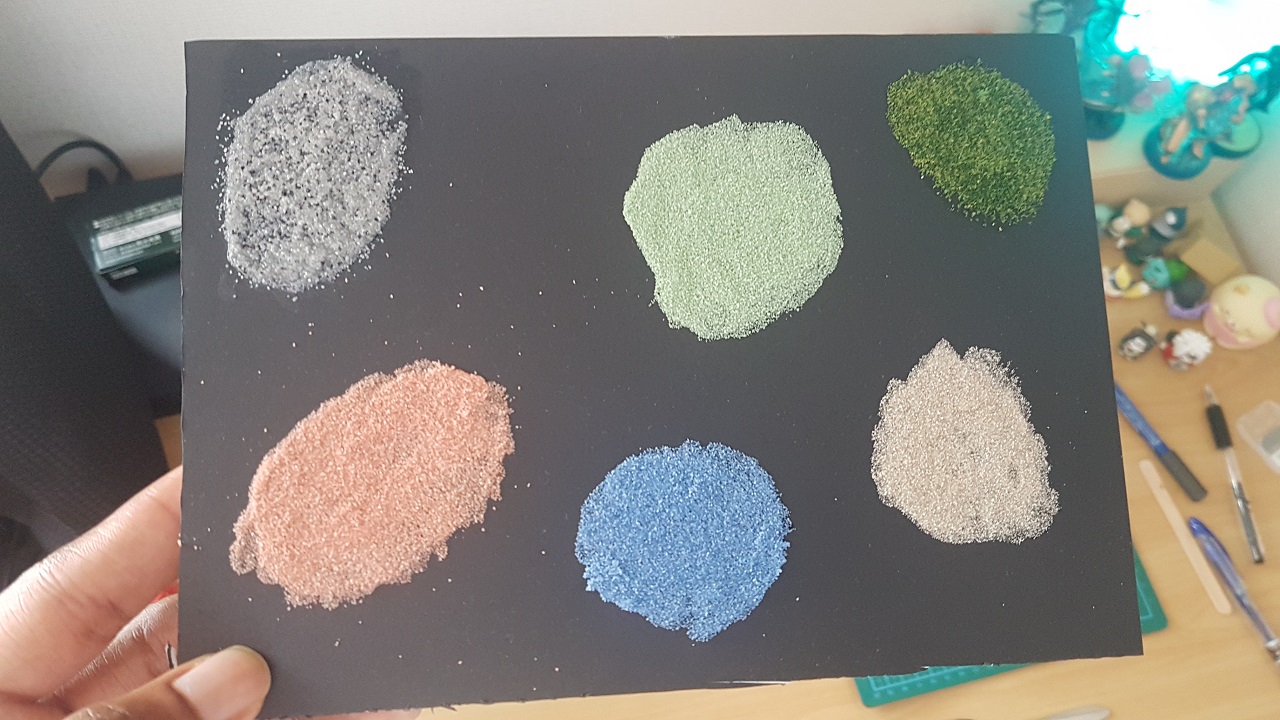
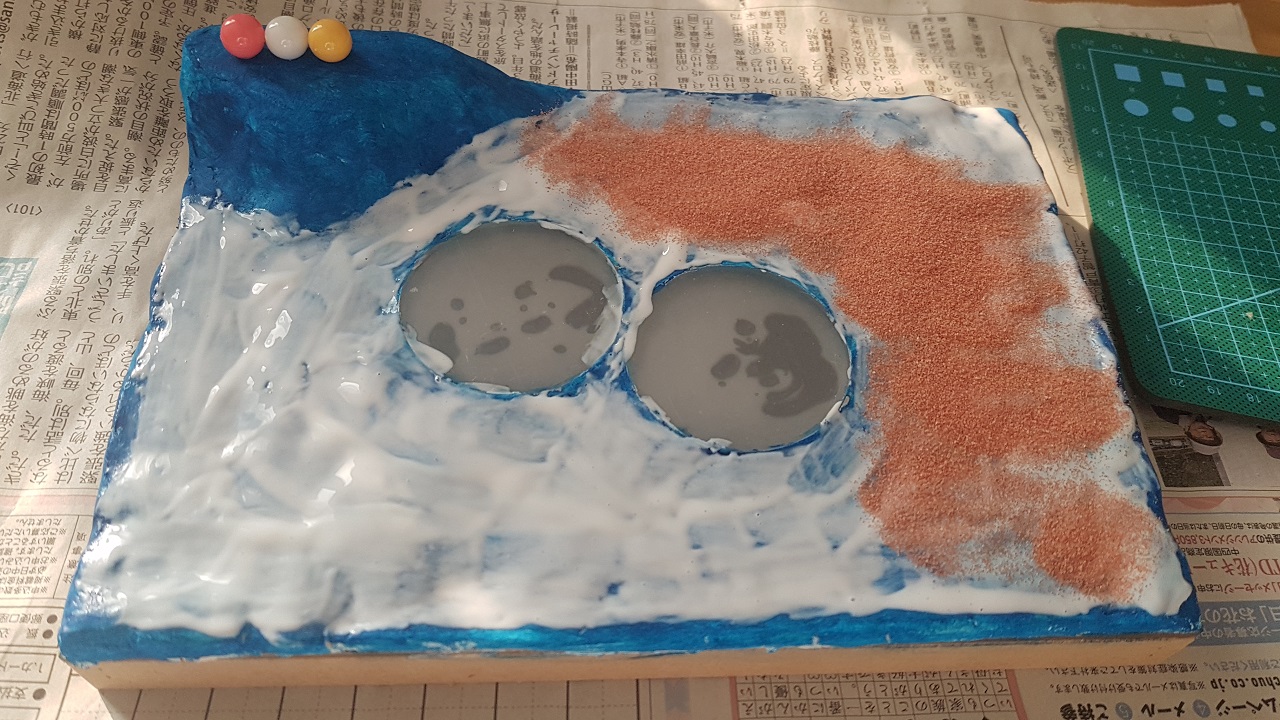
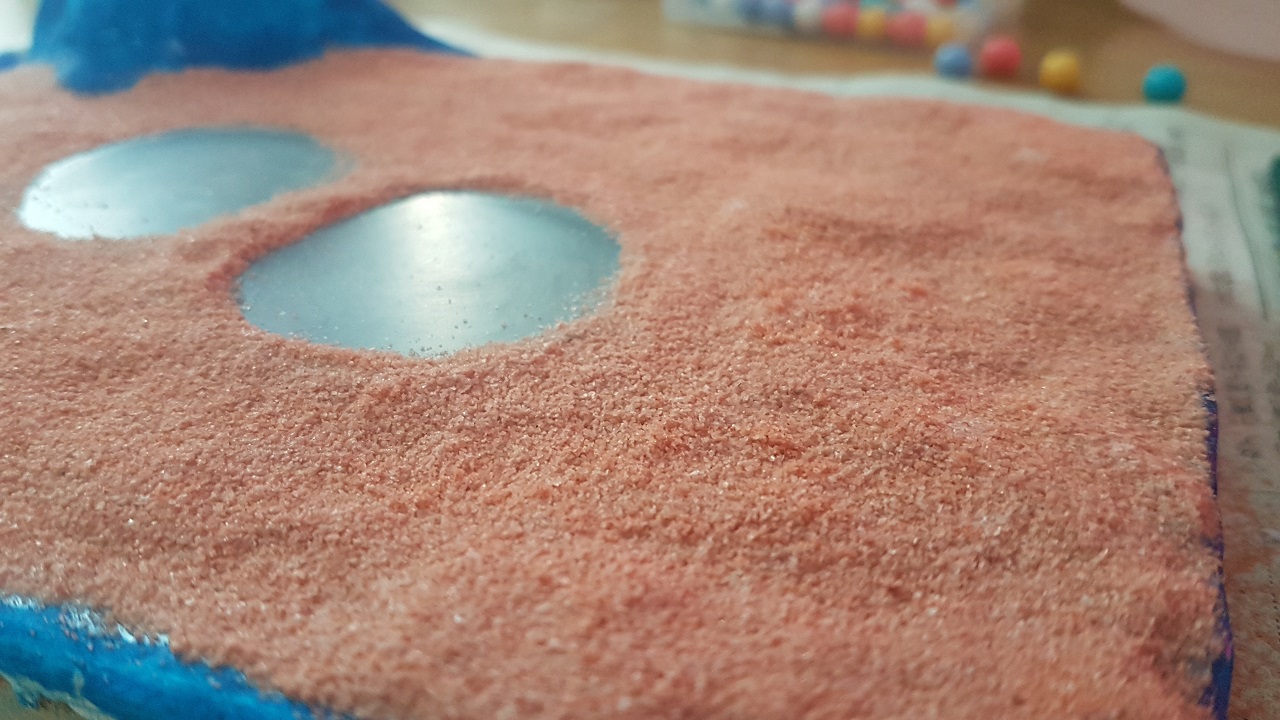
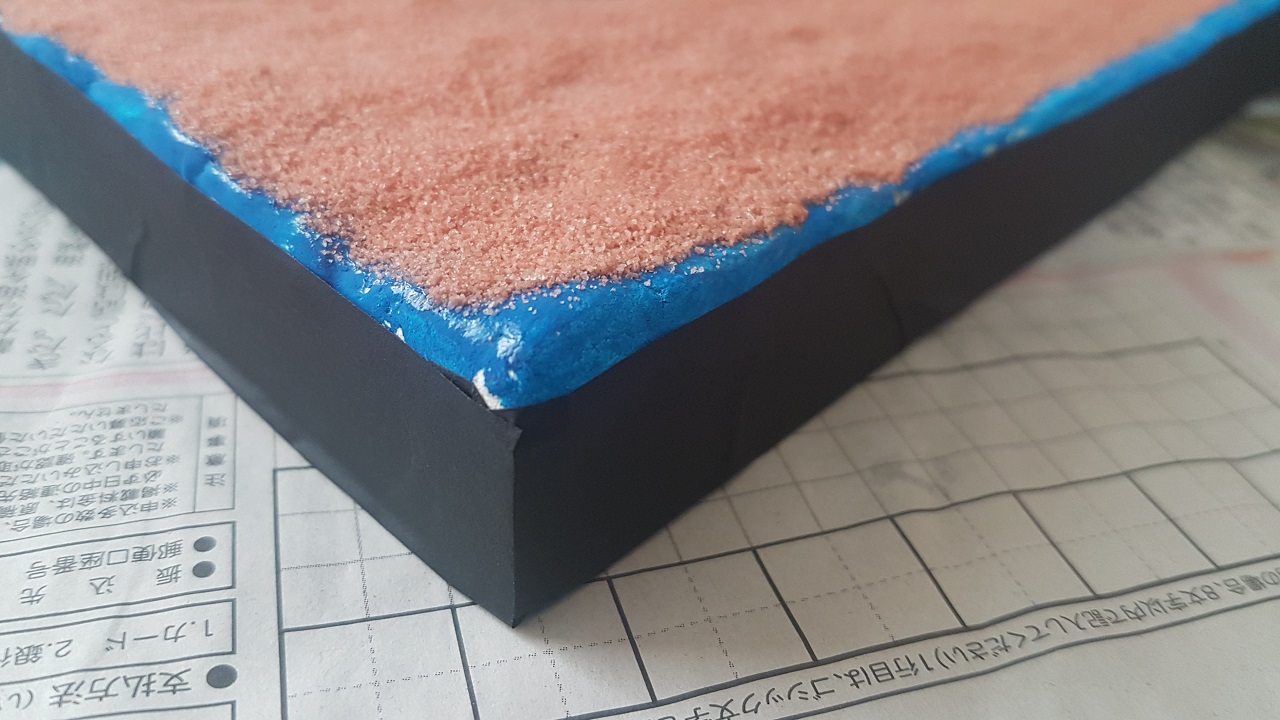
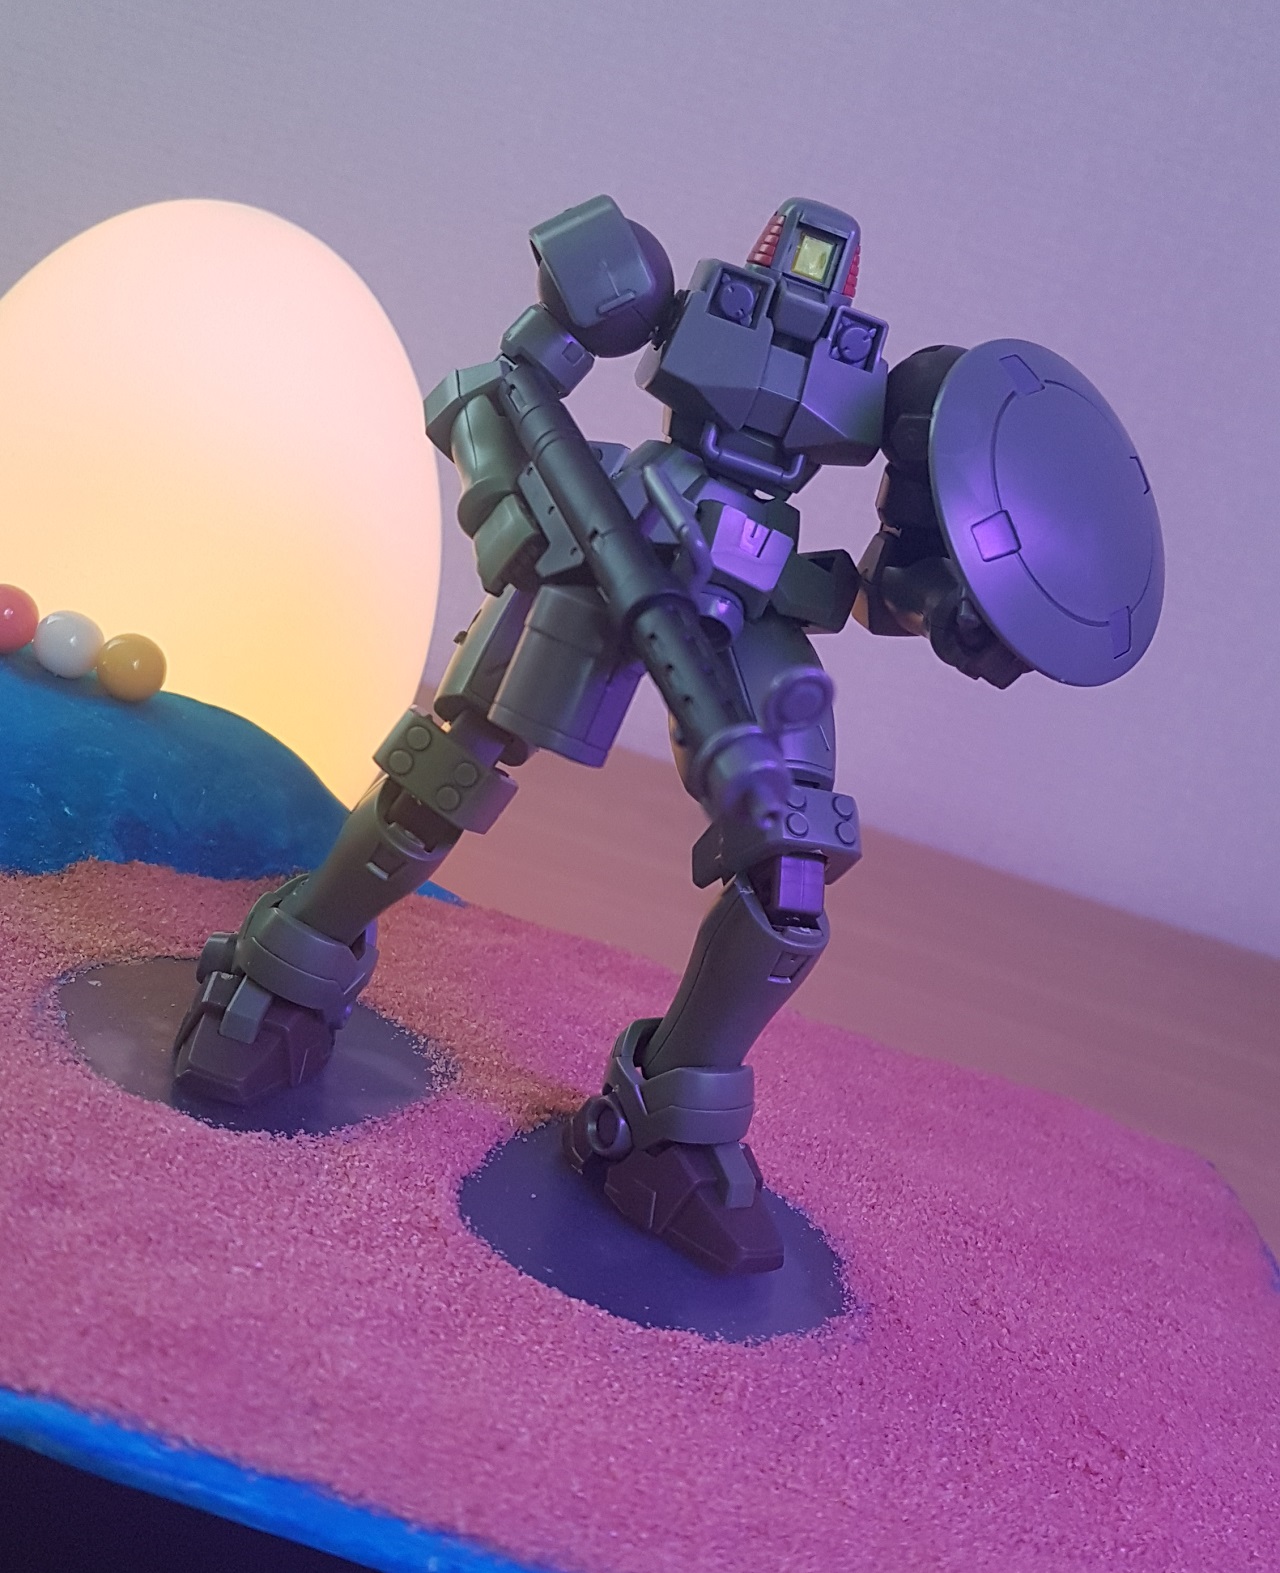
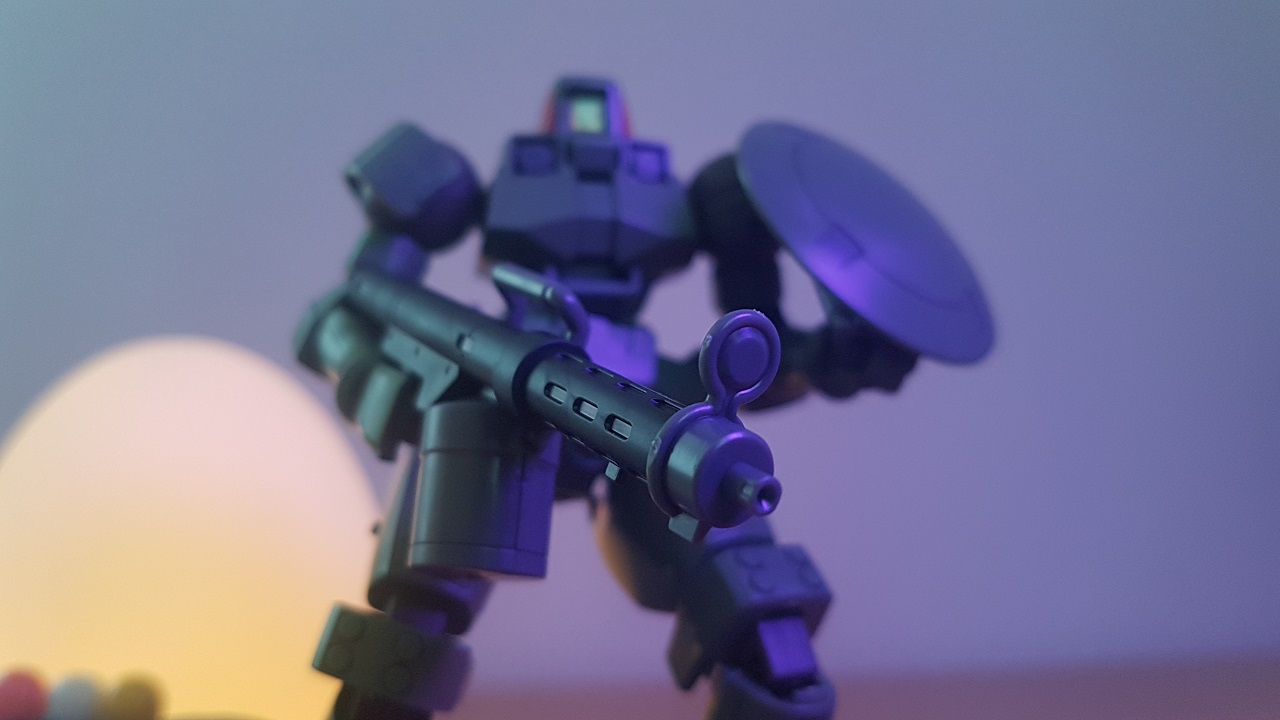
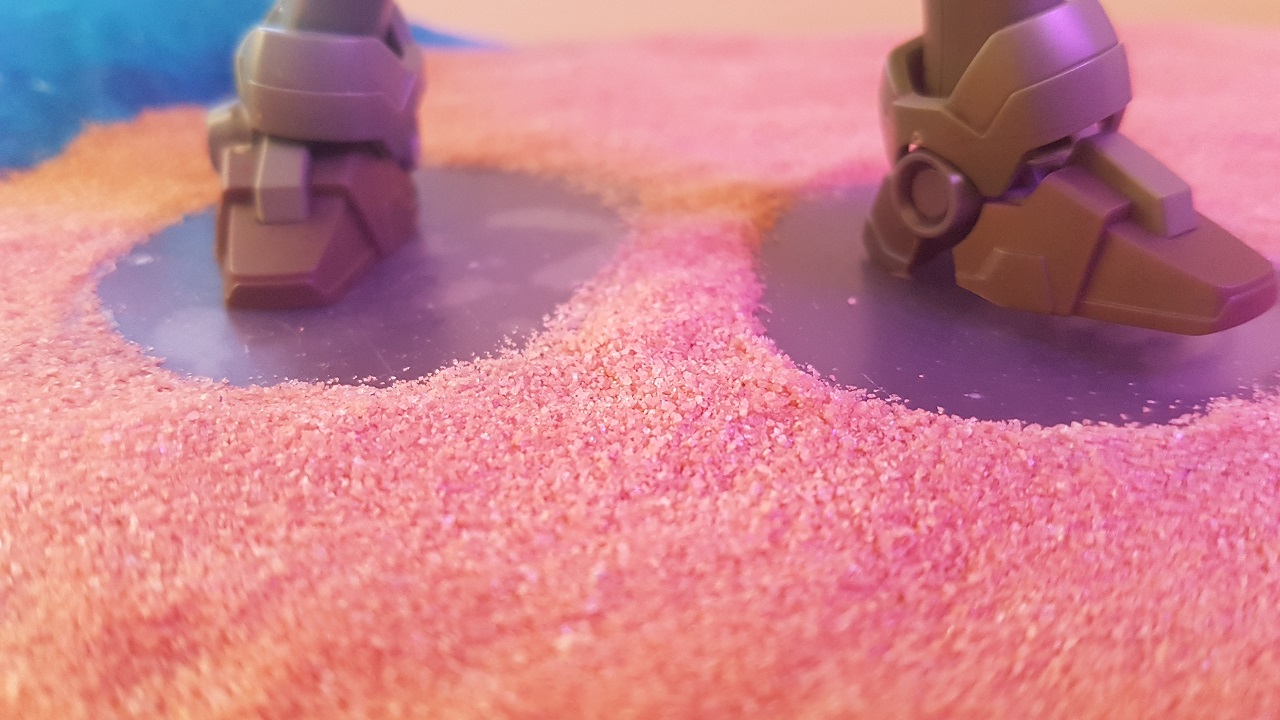
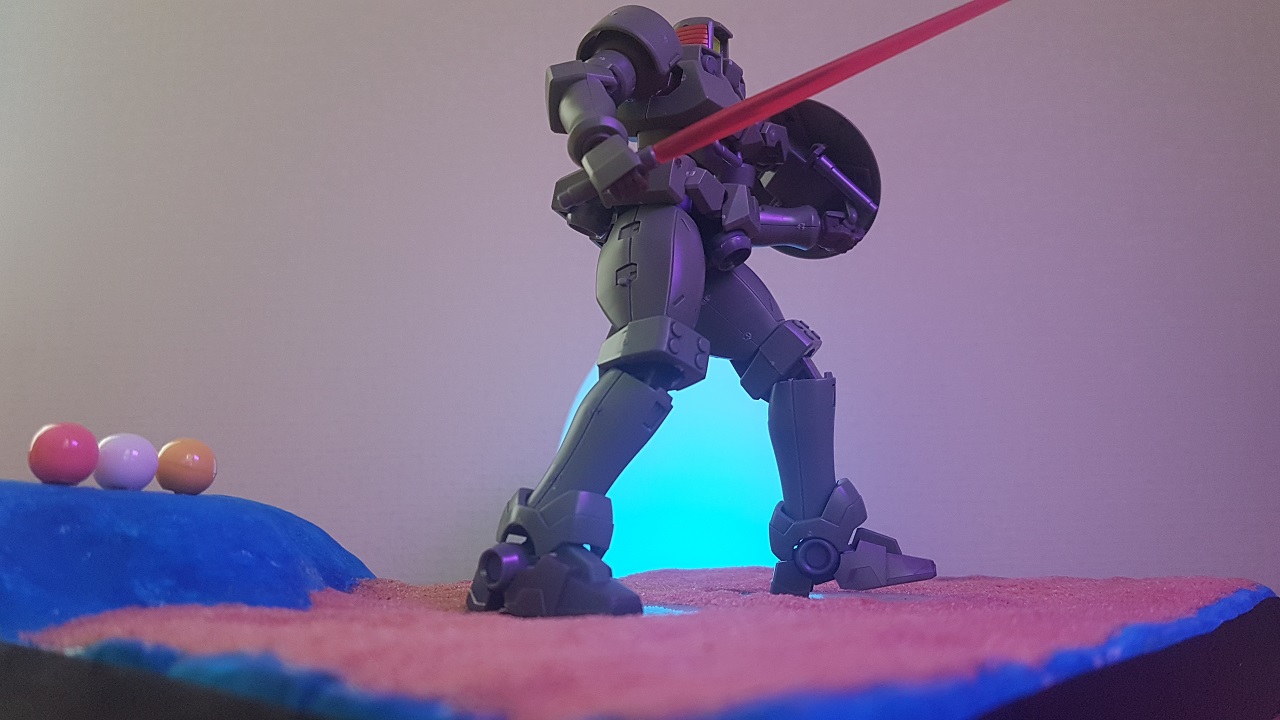
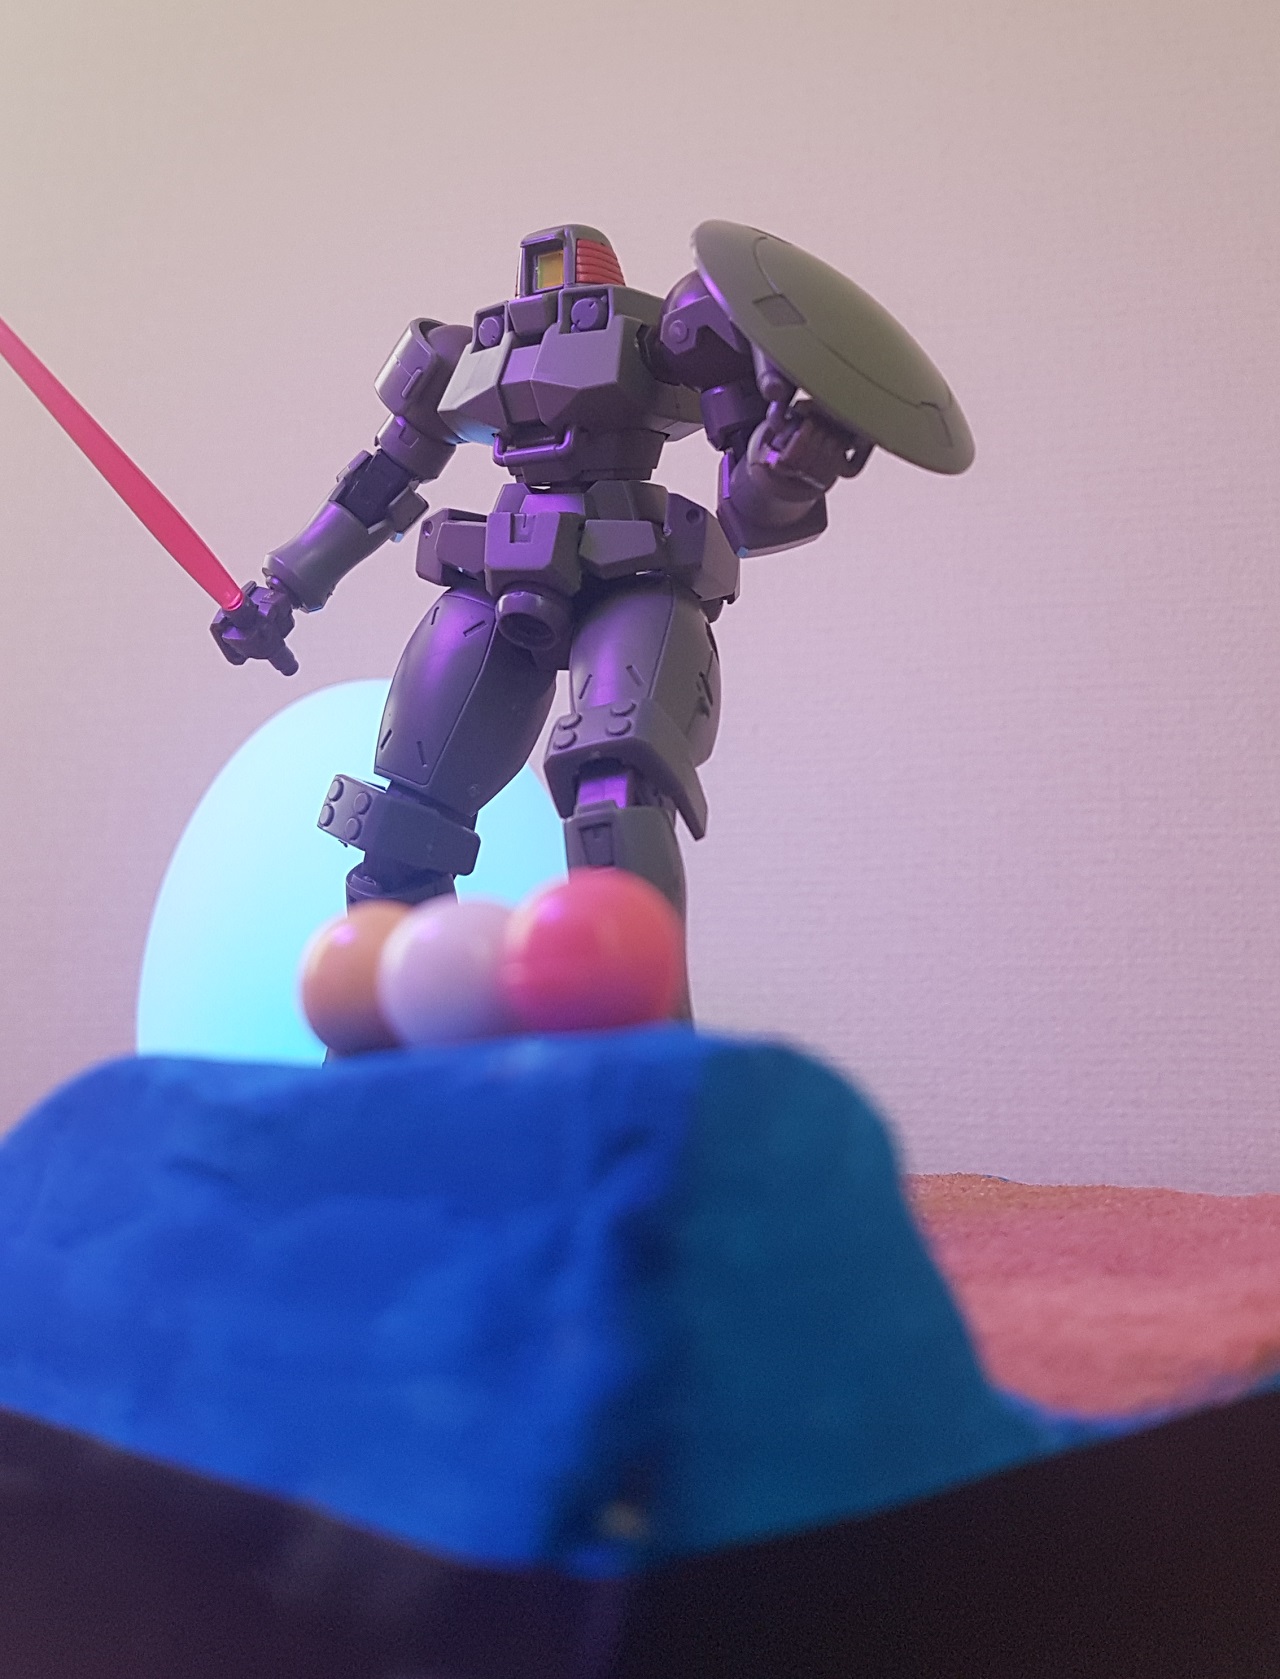
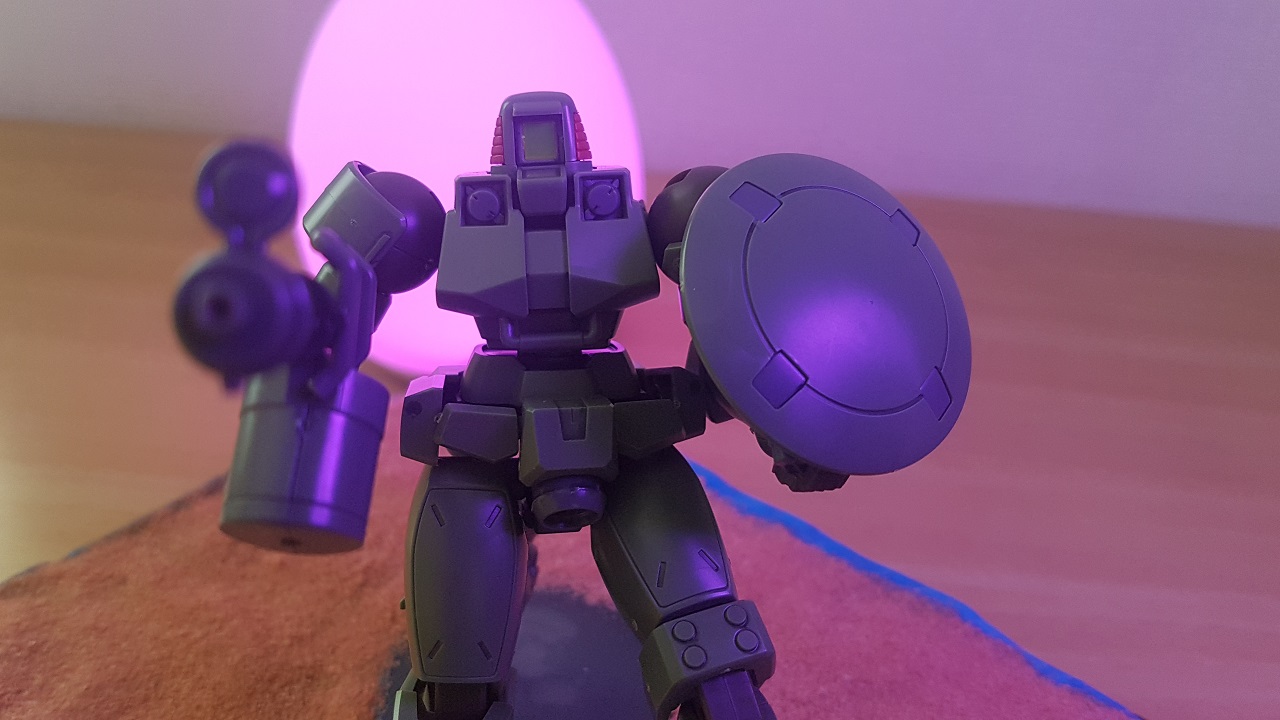
The setup. In hindsight, I don’t think I needed the circular bits for the gunpla to stand ongluing the circular bits to the base and adding the claypainting the clay blue using a colour sample from a previous kitfiguring out the kind of surface I wanted by testing out all the colours and material I had. I was going for the surface of an alien planetgluing the material on the surface of the “alien planet” and using a couple of pins for structures that scaled well with the gunpla kit12 hours of drying then another layer now the surface gluing completeadded tape around the base so it looks a little cleaner on displayAdding and posing the Leo it is spot and doing a little cleaning upPhoto shoot time!I am most proud of the surface detail and can’t wait to experiment with the other colorsmore posing this time with the beam saber and shield weapon loadoutWas hoping to be able to use the base at any angle and the little bump was by designabout 8 hours of work later across 2 days, it was completeI already have so many ideas on how to improve and take the next project to the next level